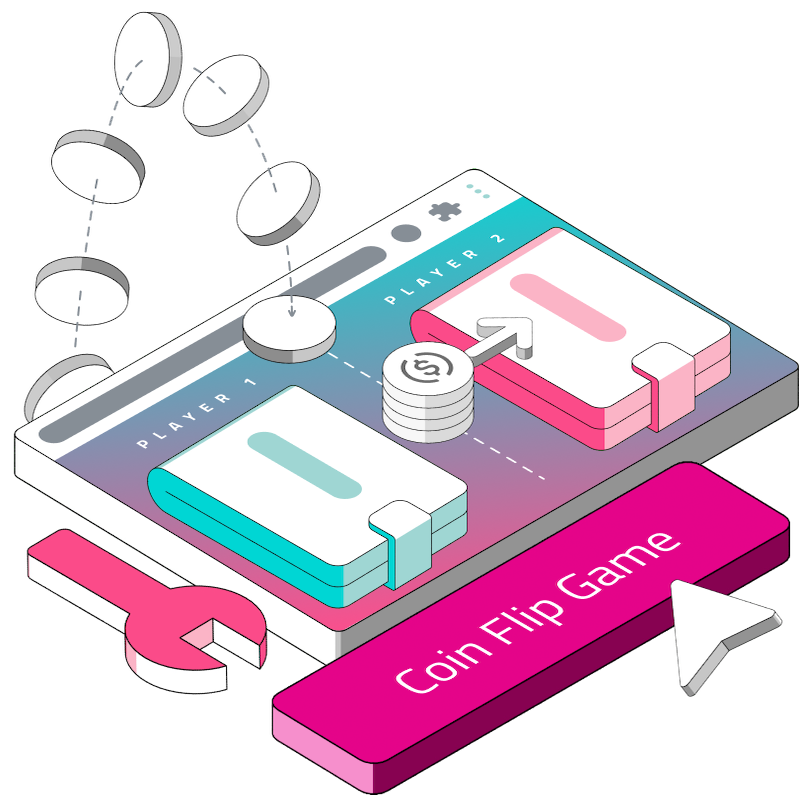
Building a Coin Flip Game on Ethereum (Part 3) - Interacting with the Contract
Introduction
Welcome to the third installment of our tutorial series focused on interacting with smart contracts using a user interface. In this guide, we will delve into a practical example involving a CoinFlip smart contract.
The contract features two primary write methods: createMatch and joinMatch. Each function plays a crucial role in allowing users to engage with the game, by creating and joining matches respectively.
Our goal today is to build the necessary UI components that will call these methods and handle their responses effectively. This hands-on approach will not only reinforce your understanding of Ethereum smart contracts but also sharpen your skills in integrating these contracts with a front-end interface. Whether you're a seasoned developer or just starting out, this guide will provide you with the tools and knowledge needed to build dynamic dApps.
Prerequisites
Check out the previous instalments of this series here:
Building a Coin Flip Game on Ethereum (Part 1) - Web3 Email Onboarding.
Building a Coin Flip Game on Ethereum (Part 2) - Deploying the Contract.
Tutorial: Interacting with the CoinFlip Smart Contract
First, we will create form components to interact with the different methods.
Create Match
This createMatch method allows users to create matches. It takes only one argument, and that is the amount that the user is staking for the session of the game, and it returns an ID. In the joinMatch method, users can then call the ID and play the particular game. Here is the code:
const createMatch = async () => {
    const encodedCall = new ethers.Interface([
        {
            inputs: [],
            name: "createMatch",
            outputs: [{ internalType: "uint256", name: "", type: "uint256" }],
            stateMutability: "payable",
            type: "function",
        },
    ]);

    const newAmount = ethers.parseEther(amount);
    const data = encodedCall.encodeFunctionData("createMatch", []);
    const transaction = {
        to: "0xb27C9567E84606faBE6955a17ba71fFc9B93B46b",
        value: newAmount.toString(),
        data,
    };

    const userOp = await SmartAccount.buildUserOp([transaction]);
    const userOpResponse = await SmartAccount.sendUserOp(userOp);
    const { receipt } = await userOpResponse.wait(1);
    console.log(receipt);
};
Code Breakdown

const createMatch = async () => {Declare the function. It is an asynchronous function where we will use await to handle promises calling the Smart Contract.
const encodedCall = new ethers.Interface({
    inputs: [],
    name: "createMatch",
    outputs: [{ internalType: "uint256", name: "", type: "uint256" }],
    stateMutability: "payable",
    type: "function",
});
const newAmount = ethers.parseEther(amount);
const data = encodedCall.encodeFunctionData("createMatch", []);
An instance of
ethers.Interfaceis created with the ABI method that describes calling thecreateMatchvia the UI.ethers.parseEther(amount)converts the amount to the correct String for the transaction.encodedCall.encodeFunctionData("createMatch", [])encodes the function callcreateMatchalong with any parameters it may have, in this case, it's an empty array[].
const transaction = {
    to: "0xb27C9567E84606faBE6955a17ba71fFc9B93B46b",
    value: newAmount.toString(),
    data,
};
This is the transaction object containing the recipient address (to) which is the deploy Smart Contract available on the Polygon Mumbai Chain, value (value), and encoded data (data).
const userOp = await SmartAccount.buildUserOp([transaction]);
const userOpResponse = await SmartAccount.sendUserOp(userOp);
SmartAccount.buildUserOp([transaction])constructs a user operation object by parsing the transaction to the BiconomybuildUserOpmethod.SmartAccount.sendUserOp(userOp)sends the constructed user operation to the Bundler.
const { receipt } = await userOpResponse.wait(1);This line waits for the user operation response (userOpResponse) to be confirmed on the blockchain. The await function is used to await for the transaction to be included in a block and for the return (a promise) to be resolved. The 1 parameter specifies the number of block confirmations to wait for before resolving. Once confirmed, the function returns a receipt object containing information about the transaction.
console.log(receipt);
This logs the receipt object to the console, and contains details such as the transaction hash, block number, and more.
Form UI
To call createMatch we will build a Form UI. Paste the following code before the Login Button:
<p className="mt-8">Create Match!</p>
<form className="flex max-w-md flex-col gap-4">
    <div className="mt-3">
        <label htmlFor="base-input" className="block mb-2 text-sm font-medium text-gray-900 dark:text-white"/>
        <input type="text" id="base-input" className="bg-gray-50 border border-gray-300 text-gray-900 text-sm rounded-lg focus:ring-blue-500 focus:border-blue-500 block w-full p-2.5 dark:bg-gray-700 dark:border-gray-600 dark:placeholder-gray-400 dark:text-white dark:focus:ring-blue-500 dark:focus:border-blue-500"/>
    </div>
    <button type="submit" className="focus:outline-none text-white bg-green-700 hover:bg-green-800 focus:ring-4 focus:ring-green-300 font-medium rounded-lg text-sm px-5 py-2.5 me-2 mb-2 dark:bg-green-600 dark:hover:bg-green-700 dark:focus:ring-green-800">
        Send
    </button>
</form>For the Form UI to take input and submit it to the createMatch method we will declare a state to handle form input, in this case “amount’ and also variables to handle input and submit events.
handleAmount takes in the amount input and saves it in the state method handleSubmit which then calls createMatch to send the amount to the Smart Contract and create a Game session.
const [amount, setAmount] = useState<string>("");

const handleAmount = (e) => {
    setAmount(e.target.value);
};

const handleSubmit = (e) => {
    e.preventDefault();
    createMatch();
};Update the Form UI to handle the events:
Save the file, open the Browser and try creating a new Game session, you will find the response logged to the Console.
<form onSubmit={handleSubmit}>
    <input type="text" id="base-input" value={amount} onChange={handleAmount}>
</form>Join Match
The joinMatch method is not different from the createMatch method. The principal difference is that while createMatch does not take in any arguments, the joinMatch takes one argument. This difference is highlighted in the ABI call:
encodedCall.encodeFunctionData("joinMatch", [newMatchID])encodes the function calljoinMatchwith the newMatchID as a parameter.
Everything else remains the same and is similar to calling createMatch.
const joinMatch = async () => {
    const encodedCall = new ethers.Interface([
        {
            inputs: [{ internalType: "uint256", name: "matchId", type: "uint256" }],
            name: "joinMatch",
            outputs: [{ internalType: "string", name: "", type: "string" }],
            stateMutability: "payable",
            type: "function",
        },
    ]);

    const newAmount = ethers.parseEther(matchAmount);
    const newMatchID = matchID.toString();
    const data = encodedCall.encodeFunctionData("joinMatch", [newMatchID]);
    const transaction = {
        to: "0xb27C9567E84606faBE6955a17ba71fFc9B93B46b",
        value: newAmount.toString(),
        data,
    };

    const userOp = await SmartAccount.buildUserOp([transaction]);
    const userOpResponse = await SmartAccount.sendUserOp(userOp);
    const { receipt } = await userOpResponse.wait(1);
    console.log(receipt);
    console.log(receipt.transactionHash);
};Again, we will declare a state to handle amount and matchId from joinMatch, and also form elements:
const [matchID, setmatchId] = useState<string>("");
const [matchAmount, setMatchAmount] = useState<string>("");

const handleMatchAmount = (e) => {
    setMatchAmount(e.target.value);
};

const handleMatchID = (e) => {
    setmatchId(e.target.value);
}

const handleJoinMatch = (e) => {
    e.preventDefault();
    joinMatch();
};The Form UI is also very similar to the createMatch, but, it has two input fields:
Save and test it in the Browser, by parsing the matchId as an actual Id of a created match. You can look up the deployed Smart Contract to find Matches. Once the transaction is successful, it will log the transactionHash to the Console.
<p className="mt-8">Join Match!</p>
<form onSubmit={handleJoinMatch} className="flex max-w-md flex-col gap-4">
    <div className="mt-3">
        <label htmlFor="base-input" className="block mb-2 text-sm font-medium text-gray-900 dark:text-white"/>
        <input type="text" id="base-input" placeholder="Amount" value={matchAmount} onChange={handleMatchAmount} className="bg-gray-50 border border-gray-300 text-gray-900 text-sm rounded-lg focus:ring-blue-500 focus:border-blue-500 block w-full p-2.5 dark:bg-gray-700 dark:border-gray-600 dark:placeholder-gray-400 dark:text-white dark:focus:ring-blue-500 dark:focus:border-blue-500"/>
        <label htmlFor="base-input" className="block mb-2 text-sm font-medium text-gray-900 dark:text-white"/>
        <input type="text" id="base-input" placeholder="Match ID" value={matchID} onChange={handleMatchID} className="bg-gray-50 border border-gray-300 text-gray-900 text-sm rounded-lg focus:ring-blue-500 focus:border-blue-500 block w-full p-2.5 dark:bg-gray-700 dark:border-gray-600 dark:placeholder-gray-400 dark:text-white dark:focus:ring-blue-500 dark:focus:border-blue-500"/>
    </div>
    <button type="submit" className="focus:outline-none text-white bg-green-700 hover:bg-green-800 focus:ring-4 focus:ring-green-300 font-medium rounded-lg text-sm px-5 py-2.5 me-2 mb-2 dark:bg-green-600 dark:hover:bg-green-700 dark:focus:ring-green-800">
        Send
    </button>
</form>Checking Total Matches
Understanding write methods is the requisite for interacting with deployed Smart Contracts. To read data from the Smart Contract, I’ll explain this by using an example calling the totalMatches method.
Create a State to save the response:
It uses the getContract from Viem.js to read the contract information. You can parse it to the UI. For example, as a paragraph under “Hello”:
<p>{totalMatches}</p>
const [totalMatches, setTotalMatchesNum] = useState<String>("");

const tMatches = async () => {
    const address = `0xb27C9567E84606faBE6955a17ba71fFc9B93B46b`;
    const contract = getContract({ address, abi, client: publicClient });
    const [minimumAmount, totalMatches] = await Promise.all([
        contract.read.minimumAmount(),
        contract.read.totalMatches(),
    ]);
    setTotalMatchesNum(totalMatches.toString());
};

tMatches();
Conclusion
Congratulations on completing this tutorial! By now, you should have a functional understanding of how to interact with smart contracts through a user interface. We have covered how to create and join game matches using the createMatch and joinMatch methods of the CoinFlip smart contract. You've also learned to handle form inputs and manage state in a React application, which are essential skills for any aspiring dApp developer.
Remember, the key to mastering smart contract interactions is practice and experimentation. Feel free to modify the code, try different approaches, and explore other functions within the smart contract. As you continue your journey in blockchain development, always keep learning and stay updated with the latest in Ethereum and smart contract technologies. Happy coding!